Epoxy Flooring Vancouver BC
Prep-first epoxy, polyaspartic and resin flooring for Vancouver garages, commercial spaces, warehouses, parkades and industrial concrete floors — with clear on-site quotes.
Priority One Epoxy Flooring installs epoxy flooring in Vancouver BC for garages, commercial interiors, warehouses, service bays, mechanical rooms, utility spaces, bike rooms, storage rooms, strata support areas, parkade support spaces and other concrete areas that need a harder-wearing, easier-to-maintain surface.
Every project starts with the slab first: diamond grinding, concrete repairs, old-coating removal where needed, moisture-risk review, traction planning, traffic use, cleaning routine, access restrictions and realistic downtime requirements.
Choose the Right Epoxy Flooring Service in Vancouver
Not sure which floor coating system fits your space? This Vancouver page helps you compare garage, commercial, warehouse, industrial, parkade and specialty epoxy flooring options before requesting a quote. If your project has a clear use-case, the more specific service page may be the better fit.
Garage Floor Coating Systems
Full-flake epoxy and polyaspartic garage floor systems for Vancouver homeowners who want a cleaner, stronger and easier-to-maintain garage floor.
Garage Epoxy Flooring Vancouver BCPolyaspartic Garage Floor Coating
Fast-curing, UV-stable clear-coat options for Vancouver garage floors where door-line sunlight, abrasion resistance and return-to-service timing matter.
Polyaspartic Garage Floor Coating Vancouver BCCommercial Resin Flooring
Seamless epoxy and resin floors for retail, offices, showrooms, corridors, back-of-house spaces and commercial interiors.
Commercial Epoxy Flooring VancouverIndustrial Floor Coating Systems
High-build resin flooring systems for service bays, manufacturing spaces, production areas, utility rooms, wash-down spaces and heavier-use industrial concrete floors.
Industrial Epoxy Flooring VancouverWarehouse Floor Coating Systems
Durable warehouse epoxy flooring and resin floor coatings for forklift aisles, pallet racking zones, storage areas, loading docks, logistics spaces and heavier rolling traffic.
Warehouse Epoxy Flooring VancouverCommercial Kitchen Flooring
Food-safe, wash-down, slip-resistant resin flooring systems for commercial kitchens, prep areas and sanitation zones.
Commercial Kitchen Epoxy Flooring VancouverParkade & Traffic Coatings
Dedicated traffic-bearing coating and membrane systems for parkades, ramps, lanes and vehicle-use surfaces.
Parkade Traffic Coatings VancouverEpoxy & Resin Flooring for Vancouver Concrete Spaces
Vancouver projects often need more than a basic coating. They need a flooring build planned around concrete condition, moisture risk, traffic type, maintenance routine and the handover reality of the building.
If you are comparing epoxy flooring options in Vancouver, this page helps you understand the main choices for garages, commercial interiors, industrial work areas, warehouse use, service zones, strata support rooms and specialty concrete spaces.
When the project is clearly narrower, such as a garage, parkade, commercial kitchen or warehouse-only scope, we point you to the more specific service page. When the job starts as a broader Vancouver epoxy flooring inquiry, this page helps qualify the project and recommend the correct system before quoting.
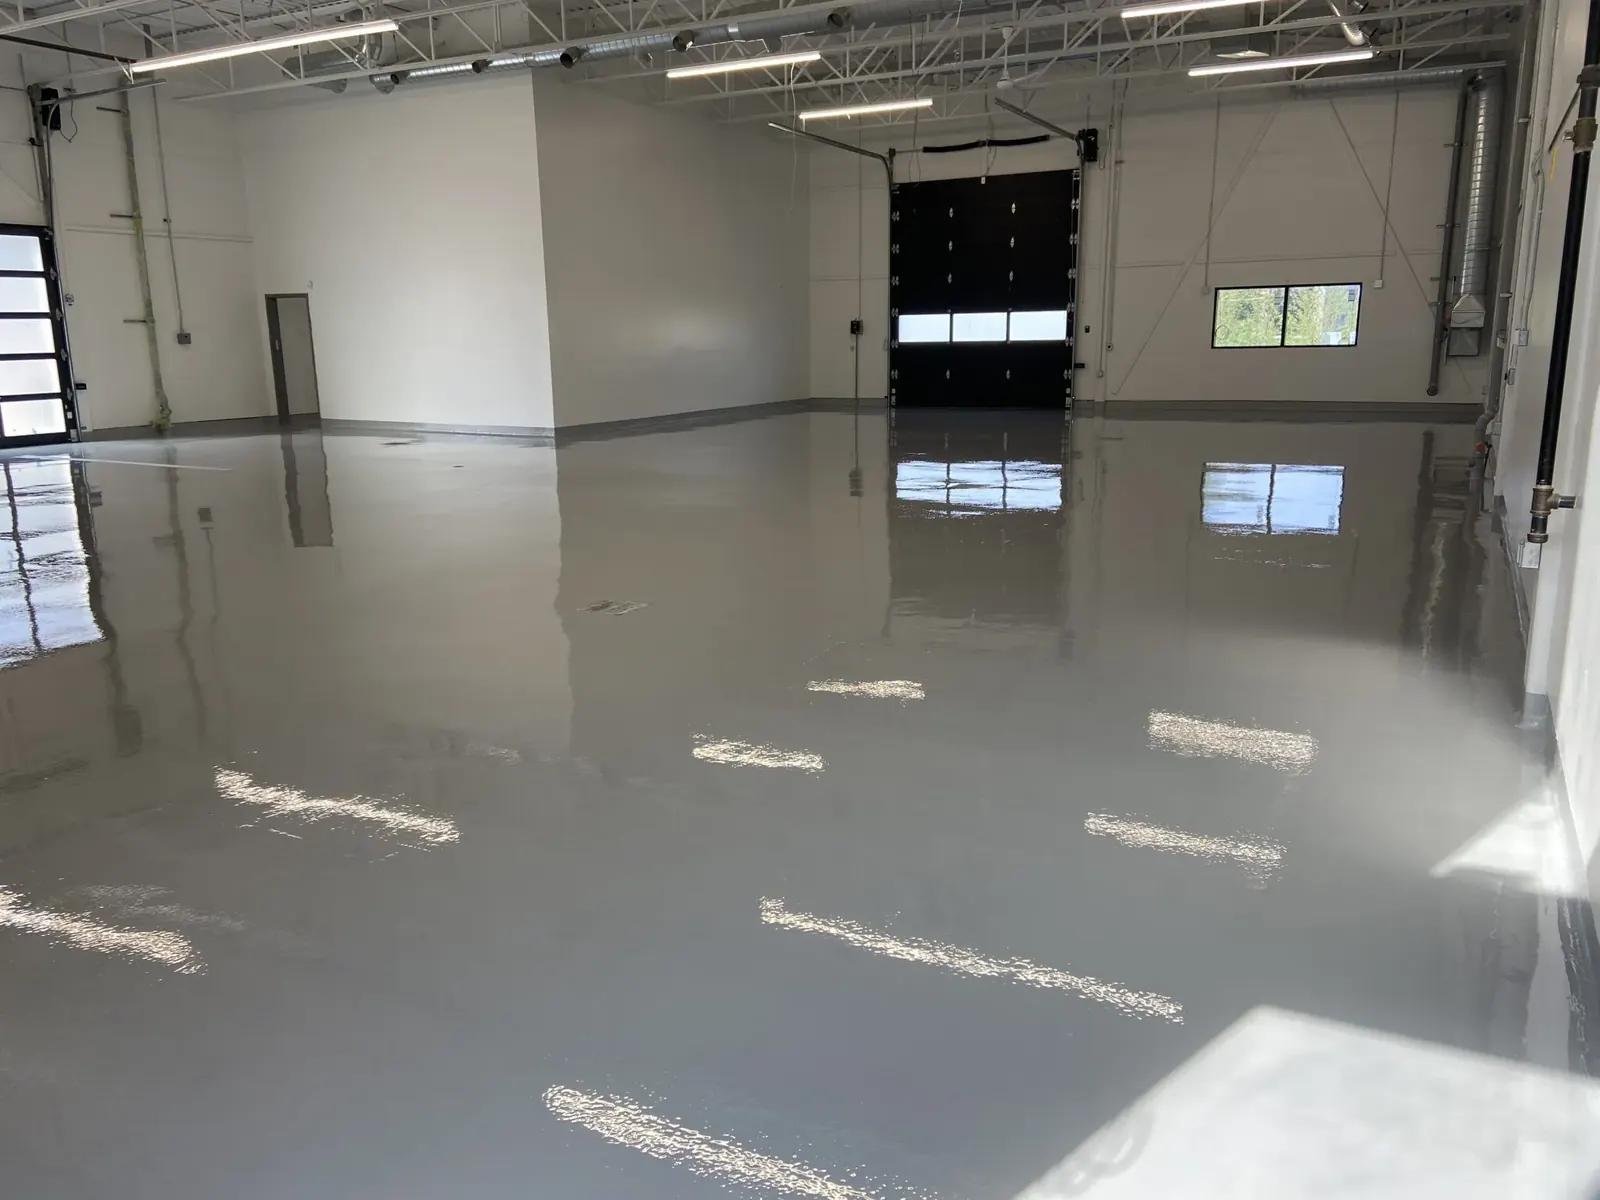
Clean, bright, seamless epoxy flooring for Vancouver garages, commercial interiors, support spaces and light-duty work environments.
Project Proof That Supports the Process
Vancouver clients need more than generic promises. They need to see proof that the contractor understands preparation, access planning, slab condition and system fit on real projects.
Preparation and planning experience behind the recommendation
- 34,000 sq/ft aircraft hangar coatings at Million Air YVR Airport
- 18,000 sq/ft industrial warehouse epoxy flooring for Liebherr Group in Abbotsford — see our warehouse epoxy flooring page for forklift aisles, storage areas, loading zones and logistics spaces
- Prep-first planning around slab condition, access, traffic, repairs and moisture
- System recommendations matched to real site use instead of template quoting
That same planning approach carries into Vancouver garages, interiors, service rooms, warehouses, utility spaces and support-area flooring scopes where the slab and schedule matter just as much as the finish.
What often has to be solved before coating starts
- Older slabs with patching, cracks or contamination
- Moisture risk in below-grade or enclosed areas
- Elevator reservations and limited access windows
- Active businesses that cannot absorb open-ended downtime
- Tracked-in grit, entry wear and service-zone abrasion
Commercial Interior / Support Space
Bright, cleanable, seamless finish for commercial units, support rooms and service interiors.
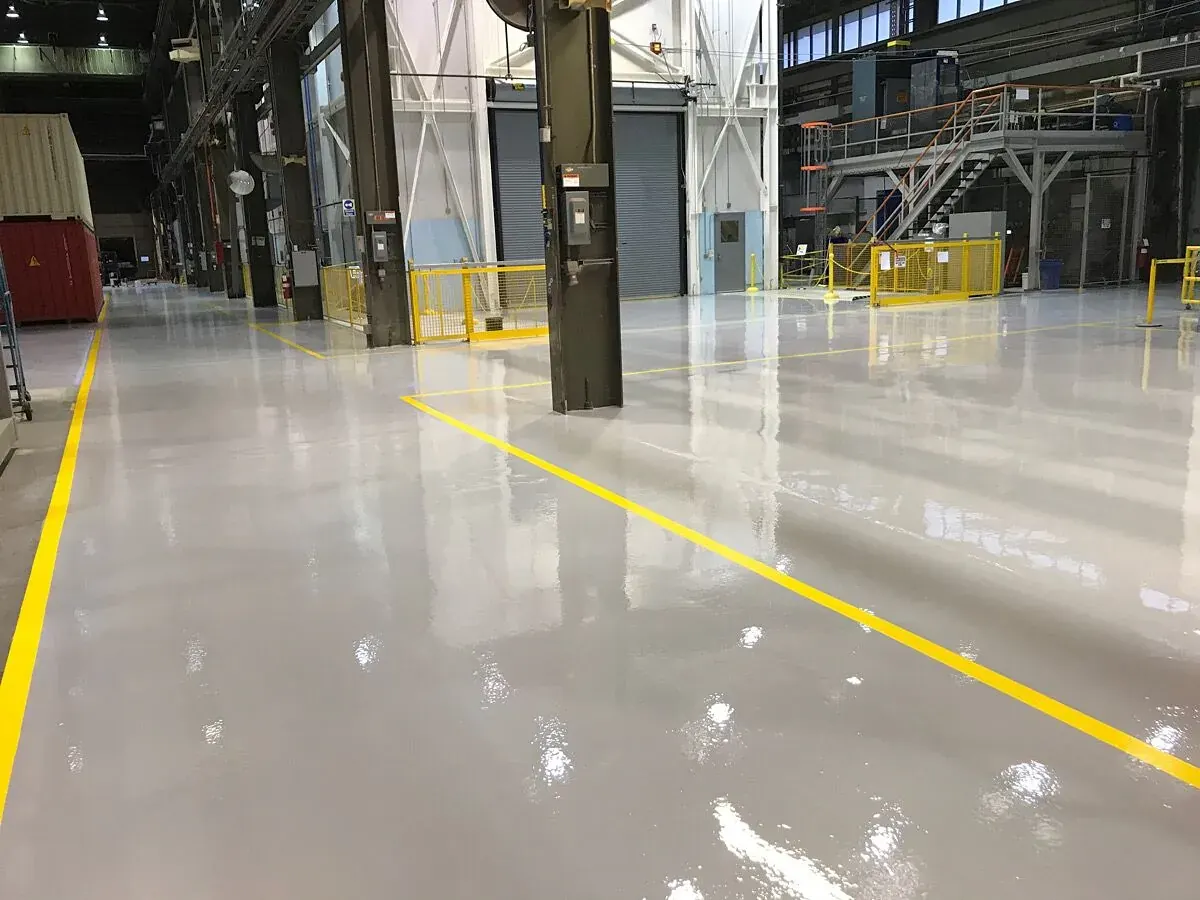
Warehouse / Work-Zone Flooring
High-build grey epoxy flooring with line marking for rolling traffic, warehousing and equipment movement.
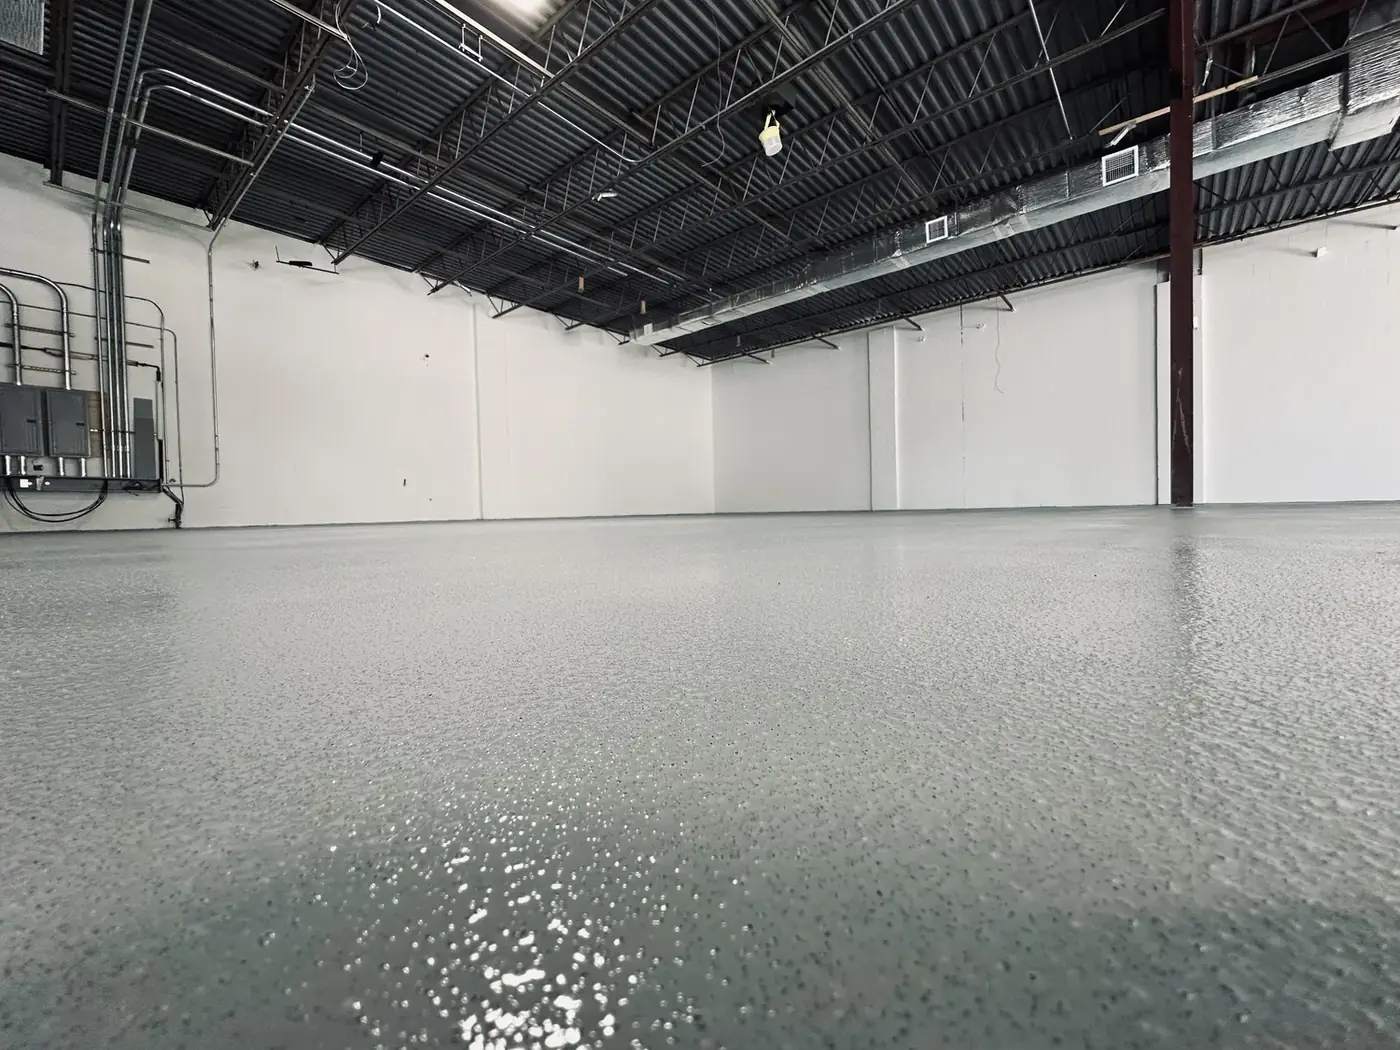
Slip-Tuned Textured Finish
Textured resin finish for traction-critical commercial and warehouse areas where cleanability still matters.
Why Vancouver Clients Choose Priority One Epoxy Flooring
Most epoxy failures start before the coating goes down. Weak preparation, missed slab issues, ignored moisture or the wrong system choice usually do more damage than the finish material itself.
Concrete Grinding Before Coating
We start with the concrete, not the brochure. Diamond grinding, repair detailing and proper prep create the mechanical bond and expose substrate issues before the finish goes on.
System Selection by Real Conditions
We match primers, build thickness, texture and topcoats to traffic, moisture, cleaners, impact, temperature swing, UV exposure where relevant and the way the floor will actually be maintained.
Clear Quotes and Real Scheduling
You get an itemized estimate and practical installation planning based on access, working hours, elevator booking, loading limits and how fast the site needs to hand back.
What that means on a real Vancouver job
- Preparation is discussed before colour and finish style
- Moisture, access, repairs and traffic are factored in early
- Recommendations are matched to use-case, not one-size-fits-all packages
- Scheduling is built around realistic handover windows
- Long-term maintenance is part of the conversation, not an afterthought
Typical Vancouver clients
- Homeowners planning garage epoxy flooring
- Business owners and property managers
- Facility managers and maintenance teams
- General contractors and tenant-improvement teams
- Warehouse and industrial operators
- Strata councils and strata managers for support-space upgrades
What Clients Say About Working With Us
These reviews reinforce the parts of the job that matter most on Vancouver epoxy flooring projects: preparation, communication, realistic scheduling and a finished floor that performs properly.
“Priority One Epoxy Flooring was excellent to work with from start to finish. They took the time to explain the process, handled the preparation properly, and delivered a finished floor that looks clean, durable, and professionally done. If you are looking for epoxy flooring in Vancouver, I would confidently recommend them.”
“We had a very positive experience with Priority One Epoxy Flooring. The team was professional, easy to communicate with, and clearly focused on doing the job properly rather than cutting corners. The completed floor completely changed the look of the space and gave it a much cleaner, more polished feel.”
“What stood out most was the level of care that went into the prep work and installation. The floor turned out even better than we expected and has a solid, high-quality finish that feels built to last. Priority One is a great choice for anyone needing Vancouver epoxy flooring done properly.”
“Anthony and his team were reliable, knowledgeable, and straightforward throughout the project. They showed up as promised, kept everything clear, and delivered a floor that looks fantastic and is easy to maintain. We are very happy with the result and would recommend Priority One Epoxy Flooring without hesitation.”
Common Vancouver Applications
These are the types of Vancouver spaces where epoxy, polyaspartic and resin flooring most often make sense.
Garage Epoxy Flooring
Good for Vancouver homeowners who want a cleaner, stronger, easier-to-maintain garage floor with full-flake epoxy or polyaspartic coating options.
- Garage epoxy flooring Vancouver BC
- Attached and detached garages, garage gyms and workshop garages
- Polyaspartic garage floor coating Vancouver BC
Showrooms, Offices & Support Areas
Good for customer-facing interiors and support rooms where cleanability, presentation, brightness and predictable maintenance matter.
- Showrooms and retail interiors
- Back-of-house spaces and corridors
- Staff rooms and commercial support areas
Warehouses, Service Bays & Work Zones
Better for harder-use environments where wear, rolling traffic, staining and long-term upkeep are more serious.
- Warehouses and staging areas
- Service bays and work zones
- Mechanical rooms and maintenance spaces
When Urethane-Cement Is the Smarter Recommendation
Some Vancouver projects are better suited to urethane-cement than a standard epoxy-only build, especially where regular wash-down, thermal swing, aggressive sanitation, heavier impact or traction-critical wet use matter.
- Commercial kitchens and prep areas
- Wash-down rooms and sanitation zones
- Wet production support spaces
Decorative or Faster-Return Options
Need a cleaner decorative finish, safety-striping layout, UV-stable topcoat or faster return to service? We recommend the build around the slab, exposure and handover window.
- Quartz and flake broadcast finishes
- Polyaspartic topcoats where UV stability helps
- System selection based on real scheduling limits
How We Pick the Right Flooring System in Vancouver
The right flooring build depends on the environment, not just the phrase “epoxy flooring.”
Epoxy Systems
- Seamless, cleanable, durable finish
- Good fit for garages, interiors and support spaces
- Gloss, satin, flake, quartz and textured finish options
Polyaspartic Systems
- Good option where faster return-to-service matters
- Often used as a high-performance clear coat
- Useful where UV stability near openings is important
- Polyaspartic garage floor coating Vancouver BC
Urethane-Cement Systems
- Better fit where wash-down, heat or thermal swing matter
- Slip resistance tuned by area
- Often smarter than epoxy-only builds in wet environments
What we are actually matching the system to
- Concrete density and slab condition
- Moisture profile and contamination risk
- Foot traffic, rolling loads and equipment use
- Cleaner exposure and maintenance routine
- Texture requirement and safety expectations
- Downtime and return-to-service window
Vancouver Epoxy Flooring Cost & Quote Factors
Vancouver epoxy flooring cost depends mainly on slab condition, preparation, repair scope, moisture risk, texture requirement, access logistics and the flooring system selected.
The biggest cost variable is usually not the colour. It is preparation, condition and how the floor needs to perform.
What changes the price most
- Cracks, spalling, oil contamination or failing old coatings
- Moisture mitigation or primer build requirements
- Smooth finish versus more aggressive texture
- Staged installation versus straightforward access
- Fast-return requirements or restricted working windows
- Elevator use, parking, loading and building logistics
For the most accurate estimate, send photos and square footage or book a site review. We will recommend the best-fit system for the traffic level, maintenance routine and budget.
Typical quote process
- Site review or photo review
- Condition and scope assessment
- System recommendation
- Itemized estimate
- Scheduling discussion
Our Vancouver Epoxy Flooring Installation Process
Every project is planned around the slab, the environment and the handover schedule.
1) Site review and scope check
We review how the space is used, the slab condition, traffic type, cleaning routine, moisture risk and any access or downtime limits.
2) Grinding, repairs and slab preparation
We diamond grind the concrete and handle repairs so the coating has the right mechanical bond and the slab is properly prepared before the finish goes down.
3) Primer, build layers, texture and topcoat
We choose the build around moisture, wear, traction, cleaner exposure, UV exposure where relevant and the finish level the site actually needs.
4) Cure, handover and maintenance guidance
We explain return-to-service timing and help set realistic expectations for cleaning, upkeep and long-term performance.
For active Vancouver sites, we can often plan staging around business hours, deliveries, elevator bookings, loading limits and access restrictions so the work is practical for the building.
Best information to send us
- Approximate square footage
- Photos of the slab and any visible damage
- How the space is used
- Traffic type and cleaning routine
- Downtime limits or access restrictions
- Whether moisture, oils, heat or wash-down are involved
We will recommend the best-fit flooring system for your performance target, budget and schedule.
Request a QuoteBuilt Around Vancouver Site Conditions
Vancouver jobs often involve wet weather, tracked-in grit, older slabs, loading constraints, elevator reservations, occupied buildings and tighter working windows. Local planning matters as much as the coating itself.
Downtown, Yaletown & Strata Buildings
Parkade support rooms, storage rooms, bike rooms, mechanical rooms, service corridors and commercial interiors where access planning, elevator bookings and occupied-building scheduling matter.
Mount Pleasant, Strathcona & East Vancouver
Breweries, workshops, studios, production areas, service bays, creative spaces and warehouse-style units that need durable floors, traction planning and cleanable finishes.
Kitsilano, South Granville, Marpole & UBC
Garages, clinics, retail stores, showrooms, lower-level rooms, institutional support spaces and specialty concrete floors where finish quality and long-term maintenance both matter.
Common local conditions we plan for
- Moisture and vapour risk in older or below-grade slabs
- Rain, grime and grit at entries and service zones
- Garage door-line exposure and wet tire tracking
- Elevator bookings, loading windows and staged access
- Occupied commercial buildings with active traffic
- Shared support spaces in strata and mixed-use properties
Final system selection depends on moisture, traffic, traction, cleaner exposure and how the space will actually be maintained.
Vancouver Epoxy Flooring FAQ
Common questions from Vancouver homeowners, business owners, contractors, facility managers and strata representatives.
How much does epoxy flooring cost in Vancouver?
Cost depends on slab condition, preparation, repairs, moisture mitigation, access and the flooring system selected. Photos plus measurements or an on-site review are the fastest way to get an accurate quote.
Do you install garage epoxy flooring in Vancouver?
Yes. For residential garages, our dedicated garage page covers full-flake epoxy and polyaspartic garage floor systems, pricing factors, prep, finishes and quote details.
Do you install commercial and industrial epoxy flooring in Vancouver?
Yes. We handle Vancouver commercial, industrial, warehouse, facility and selected strata support-space flooring projects, including interiors, service areas, mechanical rooms, utility spaces, bike rooms and storage rooms.
Can you work in active businesses or occupied buildings?
Yes. Many Vancouver projects can be staged around operating hours, deliveries, traffic flow, loading restrictions and access constraints.
Do you handle strata work in Vancouver?
Yes, for selected building support spaces such as bike rooms, storage rooms, utility areas and service corridors. Full traffic-bearing parkade membrane systems should go through the dedicated parkade page.
How do I know whether epoxy, polyaspartic or urethane-cement is right?
That depends on moisture, UV exposure, cleaning routine, temperature swing, traffic, impact and traction needs. We recommend the build after reviewing the actual site conditions.
How long does epoxy flooring last?
Service life depends on preparation quality, slab condition, traffic, cleaners, impact and whether the system was matched properly to the environment. Prep-first installation and realistic system selection matter more than blanket lifespan claims.
Ready to Talk About Your Vancouver Project?
Tell us the square footage, how the space is used and any access or downtime limits. We will recommend the best-fit flooring system and provide a clear itemized estimate.
- Free on-site assessment
- Itemized quote
- Prep-first recommendations
- Practical scheduling
- Garage, commercial, industrial and specialty local coverage
Prefer email? Email us or call 604-761-1605.
Request a Vancouver Quote
Tell us the square footage, how the space is used and any access or downtime limits. We will recommend the right flooring system and quote the scope clearly.
Request a Free On-Site QuoteStart Here for Broad Vancouver Projects
Use this Vancouver page when you want a clear quote and system recommendation for garage, commercial, industrial, warehouse, strata support or specialty concrete flooring.
Nearby Cities We Also Serve
Use these pages if the project is outside Vancouver proper.
- Epoxy Flooring Burnaby BC
- Epoxy Flooring Richmond BC
- Epoxy Flooring North Vancouver BC
- Epoxy Flooring West Vancouver BC
- Epoxy Flooring Surrey BC