Vancouver Epoxy Floor Installation Guide — Prep, Process & What to Expect
Researching how epoxy floor installation works? A long-lasting floor depends less on marketing claims and more on how the slab is evaluated, prepared, primed, built, and topcoated. When those steps are handled properly, the result is a floor that bonds well, cures properly, and holds up better over time.
This guide explains how professional epoxy floor installation typically works for Vancouver and Lower Mainland projects, so you can better understand what affects durability, finish quality, cure time, and long-term maintenance.
Step-by-step: how a professional epoxy floor install works
- Step 1Surface preparation — where the project is won or lost
Surface preparation is the most important stage in the entire system. If the concrete is contaminated, weak, too smooth, or holding hidden moisture issues, the coating will not perform the way it should.
- Remove grease, oils, sealers, paint, and failed coatings with the right tooling.
- Repair cracks, pits, and spalls before build coats begin.
- Grind or shot-blast to the correct concrete surface profile.
- Check for moisture conditions that could affect bond or cure.
- Step 2Primer and moisture strategy
Once the slab is properly prepared, the next step is stabilizing the surface and building a reliable bond. Depending on the slab condition, this may include a standard primer or a more moisture-tolerant system.
- Helps seal micro-porosity in the slab.
- Improves bond between concrete and subsequent coats.
- Reduces the risk of bubbling, blistering, or early delamination.
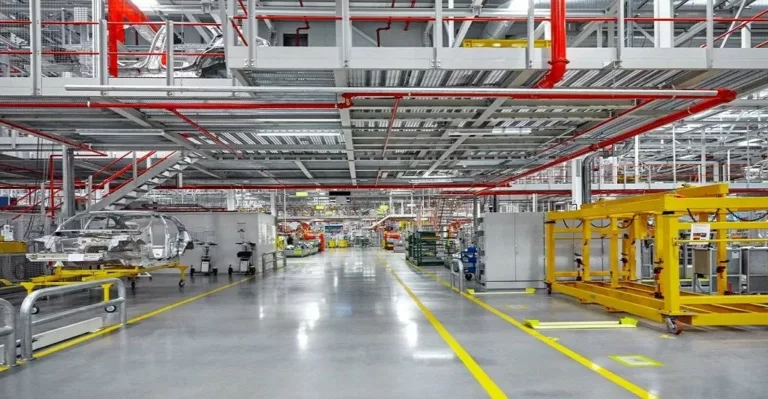
- Step 3Base coat or build layer
This is where the system is matched to the way the floor will actually be used. Different environments call for different thicknesses, aggregate loading, and performance targets.
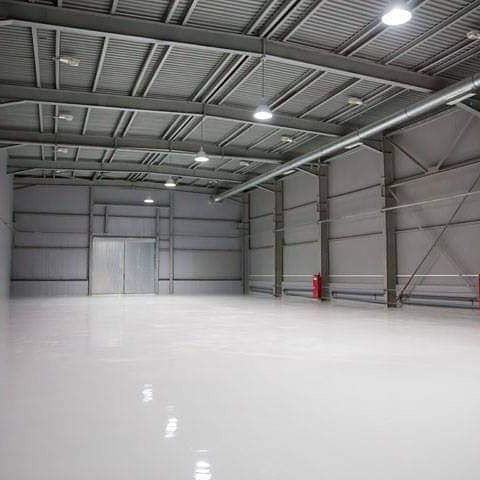
- High-build epoxy: smooth systems for light-duty commercial and support-space use.
- Quartz or slurry systems: added texture and build for wet or higher-wear areas.
- Epoxy mortar systems: thicker aggregate-reinforced builds for harsher service conditions.
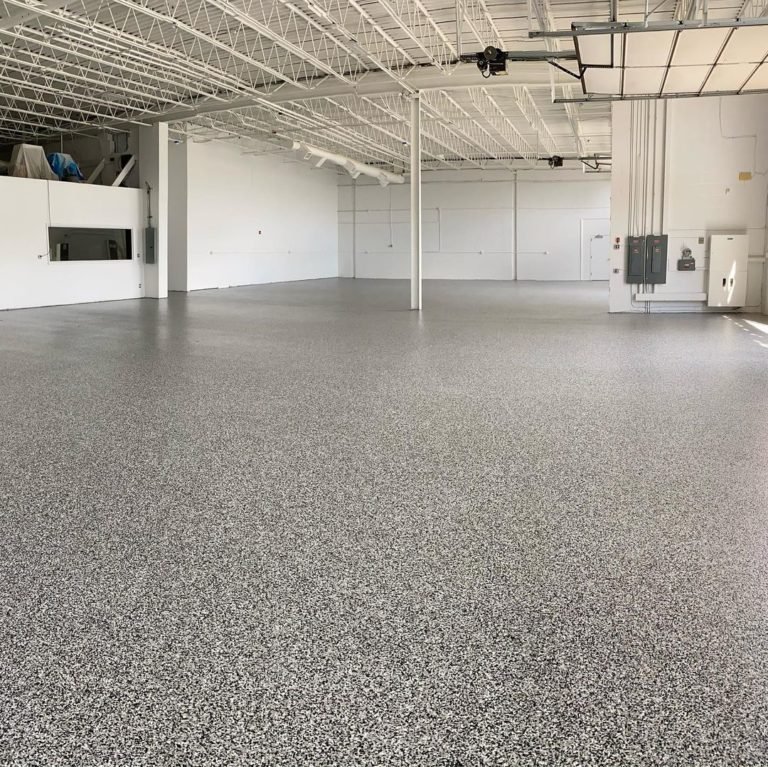
- Step 4Decorative or traction broadcast
Some projects need more than a plain smooth finish. Broadcast media can change the look, texture, and traction of the floor depending on the environment.
- Vinyl flake for decorative, easier-to-maintain finishes.
- Coloured quartz for extra grip and durability in wet zones.
- Specialty additives where appearance or texture matters.
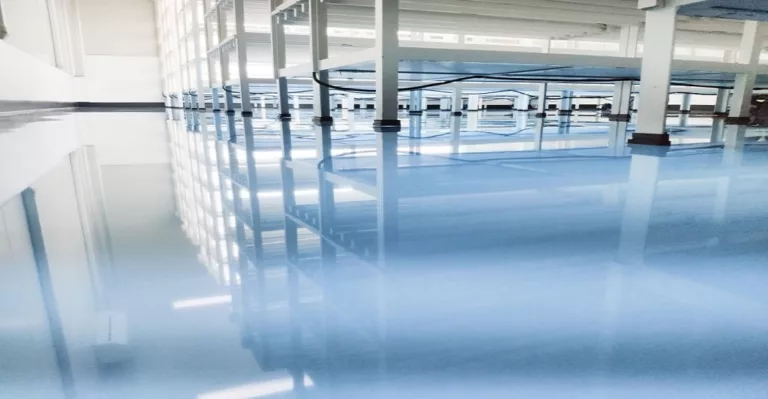
- Step 5Topcoat for wear, cleanability, and finish
The topcoat is where final performance characteristics are tuned. This layer helps determine stain resistance, cleanability, sheen, and how well the floor handles traffic and exposure.
- Select gloss, satin, or lower-sheen appearance.
- Add slip resistance where ramps, entries, or wet zones require more traction.
- Use a UV-stable topcoat where sunlight exposure is a factor.
- Step 6Curing and return-to-service
Cure time varies based on product type, build thickness, site temperature, humidity, and the performance requirements of the system.
- Light foot traffic may be possible after roughly 24 hours on some systems.
- Heavier use often requires a longer cure window.
- Project timing should always be based on the actual product schedule, not guesswork.
- Step 7Maintenance and long-term care
Even a well-installed floor performs better when it is maintained properly. Simple upkeep habits can help preserve appearance and reduce premature wear.
- Sweep or dust mop regularly to remove abrasive grit.
- Use a pH-neutral cleaner where appropriate.
- Clean spills promptly based on the environment and exposure type.
- Review wear zones over time and recoat when needed.
Related pages
Can epoxy be installed over cracked concrete?
Yes, but the cracks and damaged areas should be assessed and repaired properly during preparation before the coating system goes down.
How thick should an epoxy floor system be?
That depends on the use-case. Thin coatings, slurry systems, quartz systems, and mortar builds all perform differently and are selected based on traffic, impact, cleaning, and exposure.
What if the concrete has moisture issues?
Moisture can affect bond and long-term performance, so the slab may need a moisture-tolerant primer or mitigation strategy before the main system is installed.
How long does installation usually take?
Timelines vary by slab condition, system build, access, and cure schedule. Smaller projects may move quickly, while larger commercial scopes are often phased.
Is professional installation worth it?
For spaces where appearance, durability, prep quality, and long-term performance matter, professional installation usually delivers a more reliable result than a basic DIY kit.