Epoxy Resin Flooring Costs in Vancouver & BC: What Actually Drives the Price
Typical price ranges, major cost drivers, and budgeting examples for epoxy floors in garages, basements, shops and industrial spaces across Vancouver and British Columbia.
If you’ve compared a few epoxy quotes, you’ve probably noticed how far prices can swing. That’s because the “epoxy” is only part of the total. On real job sites around Vancouver and the Lower Mainland, the biggest variables are usually concrete prep, repairs, moisture conditions, and how thick (and how protective) the full system is.
This guide explains what affects cost, what most people miss when comparing bids, and how to get an accurate budget before committing.
Planning note: The ranges below are general budgeting guidelines for Metro Vancouver and BC. Final pricing can be higher or lower depending on slab condition, access, moisture testing results, and the system specification.
For homeowners comparing options specifically for garages, this breakdown pairs well with our service overview for garage floor coating systems (timelines, finishes, and what’s typically included in a proper install).
What affects epoxy resin flooring cost the most?
Most pricing differences come down to what’s included (and what’s not) in the scope. Two quotes can both say “epoxy floor” and be completely different builds.
- Solid-colour epoxy: simpler build, strong value for many garages and shops.
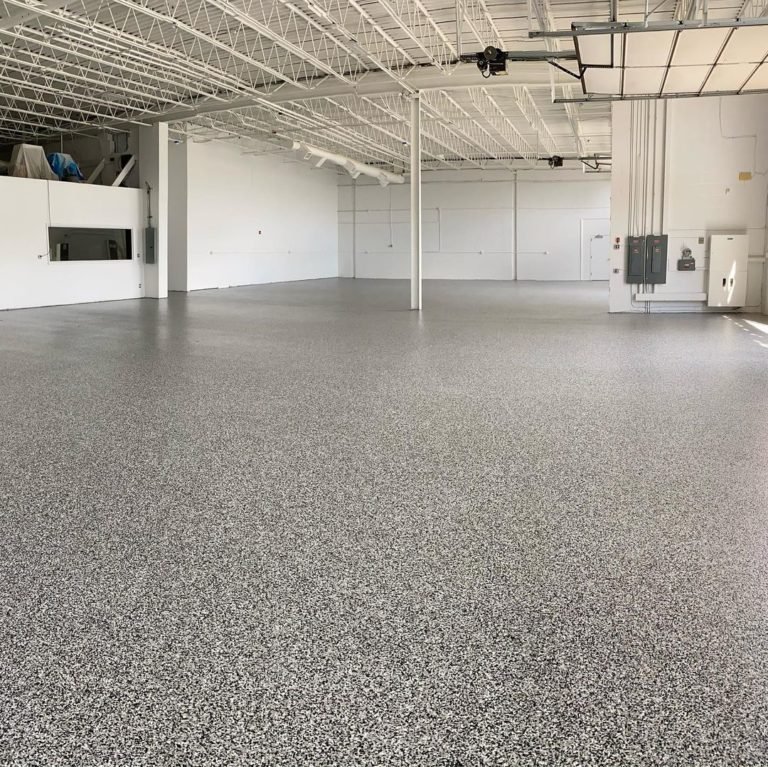
- Flake/chip systems: more labour (broadcast, scrape, vacuum) + more clear coats.
- Quartz/slurry systems: higher-build options for traction and durability.
- Mortar builds: thick, impact-resistant systems for abuse and heavy loads.
- Bigger areas: often lower cost per sq ft due to scale.
- Small/chopped-up areas: more edge work and mobilization per sq ft.
- Obstacles: posts, drains, steps and tight corners add labour time.
- Access: parkade logistics, elevators, long walks and staging affect productivity.
- Sound slabs with minimal defects are the most cost-efficient.
- Cracks, spalls, delamination, heaving, or patchwork repair = more labour and materials.
- Old paint/sealers/adhesives must be removed mechanically (more time, more tooling).
- Slab flatness matters if you want a “poured” self-levelling look.
- Moisture mitigation (MVB) primers may be needed on on-grade or damp slabs.
- UV-stable topcoats help at doors and bright areas.
- Slip-resistance can be tuned by zone with aggregates or texture profiles.
- Line striping, safety zones and logos add layout and detailing time.
A realistic cost breakdown (how the total is usually built)
| Cost component | What it covers | Why it matters |
|---|---|---|
| Surface prep | Diamond grinding / shot-blast, profiling, dust control, masking. | Prep is what the coating bonds to. Under-prep is the #1 reason floors fail early. |
| Repairs & detailing | Crack chasing, patching, joint rebuilds, levelling, edge work. | Repair quality shows through (and performs) for the entire life of the floor. |
| Moisture control | Testing + moisture-tolerant or MVB primers where required. | Moisture can cause bubbles, blisters and debonding if not addressed. |
| Body coats | Epoxy build coats that provide thickness, colour and durability. | Thicker builds typically last longer in traffic lanes and work areas. |
| Decorative layers | Flake broadcast, quartz, metallic effects, custom colour matching. | Mostly affects labour steps and material usage — less important than prep for performance. |
| Topcoats & texture | Clear/pigmented urethane or polyaspartic; traction additives. | Topcoat choice affects UV stability, scratch resistance and cleanability. |
| Logistics | Mobilization, staging, travel, after-hours or phased work. | Can be a big factor on small jobs, complex sites and tight shutdown windows. |
Example budgets (Vancouver & BC planning ranges)
These are budgeting examples to help compare scopes. A site visit and written scope is the only way to price accurately.
- Full grind + crack repair + moisture-tolerant primer (as needed).
- Flake broadcast + wear topcoat; UV protection at door/threshold zones if needed.
- Budget range: $4,000–$10,000+ (scope-dependent).
- Solid-colour epoxy or subtle flake on sound concrete.
- Light repairs; moisture control only if testing indicates.
- Budget range: $5,000–$12,000+ depending on finish and prep.
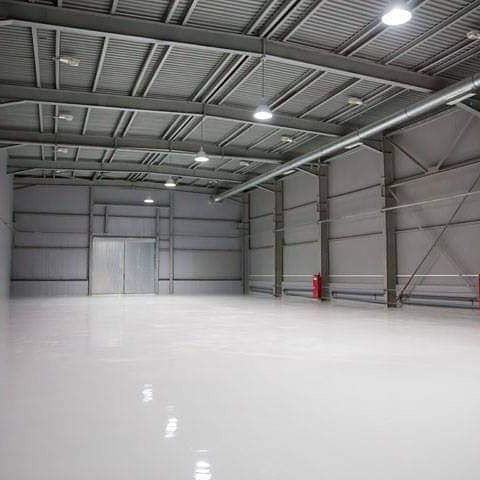
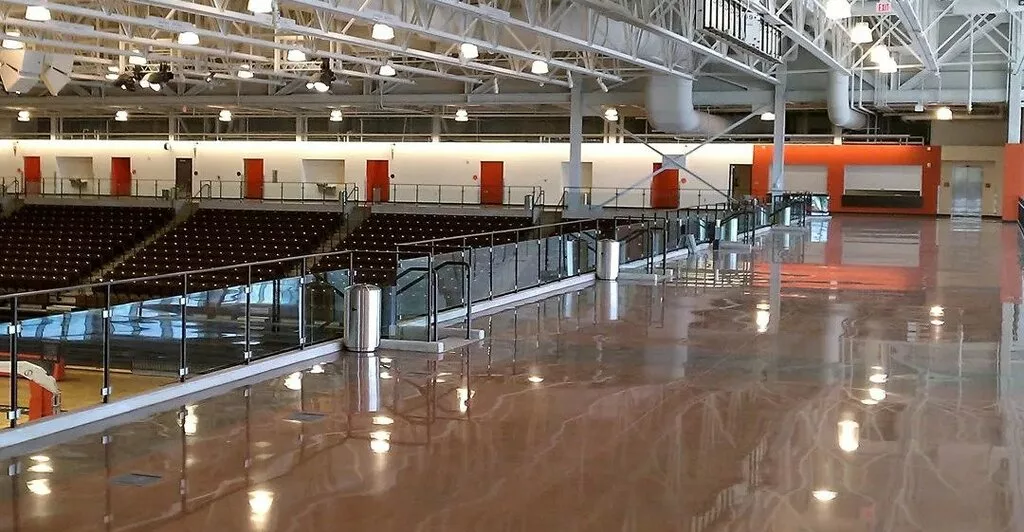
- High-build epoxy with non-slip topcoat (retail, studios, service bays).
- Optional zone markings and masking for aisles/work areas.
- Budget range: $10,000–$30,000+ depending on build and phasing.
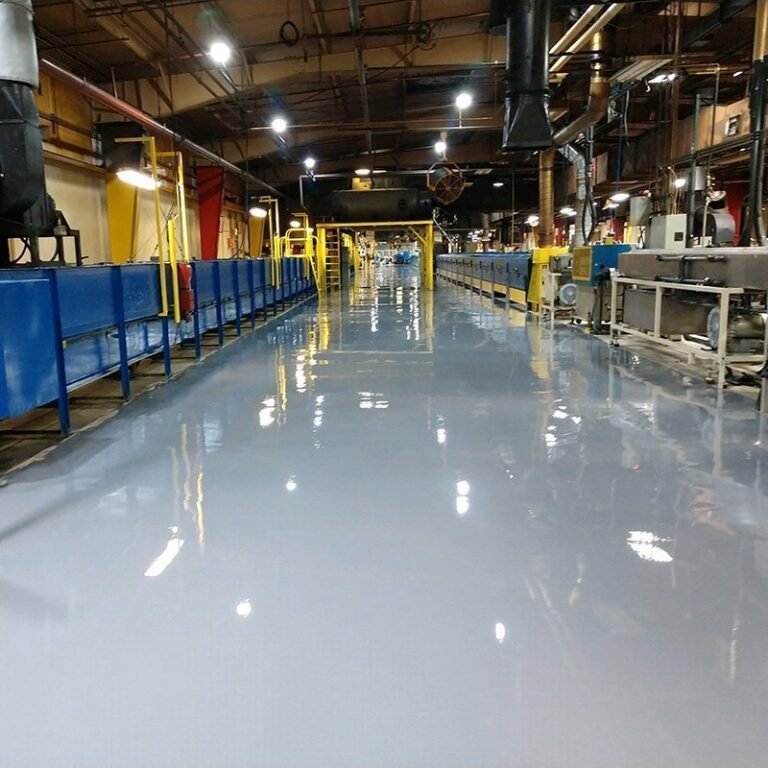
- High-build or mortar epoxy in forklift/impact lanes (as required).
- Possible MVB primer + heavy-duty topcoat + striping.
- Budget: project-specific (quote after a site review).
DIY kits vs. professional epoxy systems
- Lower upfront cost, but typically lower film build and shorter lifespan.
- Often installed over under-prepped concrete (higher peel risk).
- Hot-tire pickup and wear-through can happen quickly in garages.
- Removal later can cost more than doing it right the first time.
- Mechanical prep, repair detailing and moisture control done properly.
- Commercial-grade epoxies + topcoats selected for the environment.
- System build matched to your traffic (not a one-size-fits-all).
- Clear scope, cure schedule, and workmanship coverage.
How to get an accurate epoxy cost for your project
- Measure square footage and note any steps, drains, ramps or tight access.
- Share photos of cracks, patching, peeling paint, stains and thresholds.
- Tell the installer about moisture history (leaks, dampness, bubbling, efflorescence).
- Choose a finish direction (solid, flake, quartz, metallic) before final pricing.
- Ask for a written scope listing prep, repairs, system layers, topcoat type and warranty terms.
Why do epoxy quotes vary so much between contractors?
Most price gaps come down to prep and system build. One bid may include full grinding, repairs, moisture mitigation and a UV-stable topcoat, while another is a thinner “paint-like” coating with minimal prep.
Is epoxy always cheaper than tile or polished concrete?
Not always. Basic epoxy can be cost-effective, but heavy-build systems can be comparable to other finishes. The best choice usually comes down to performance requirements, maintenance, and downtime—not just install cost.
How do I keep my epoxy floor cost-effective over time?
Remove grit, use a compatible pH-neutral cleaner, clean spills quickly, and plan re-topcoats in traffic lanes before wear reaches the body coat or concrete.
Does epoxy increase property value?
In many cases it can improve appearance and perceived cleanliness. Value depends on the space, the quality of the install, and how well the floor matches how the property is used.